
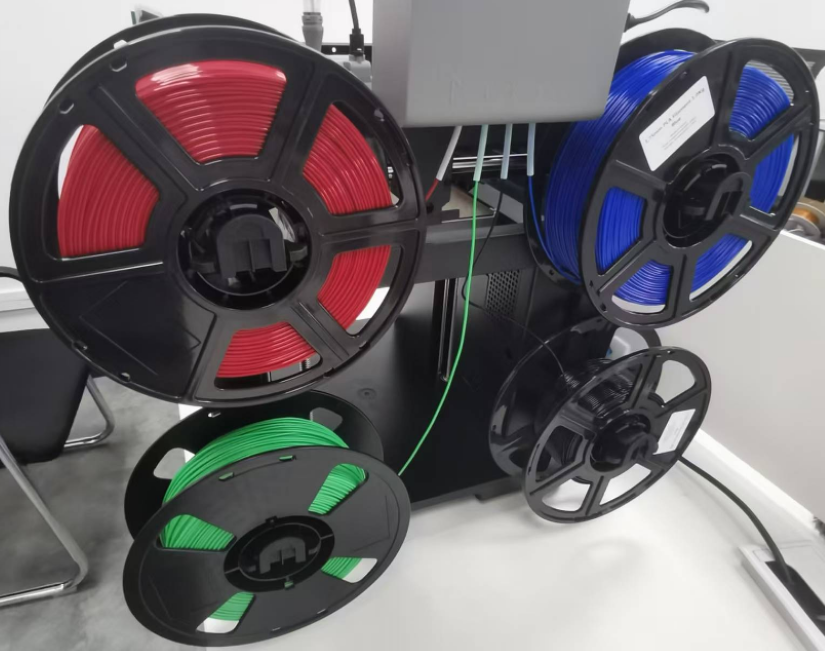
1. Install four spools of filament (you can place them as needed) onto the spool holders as shown below.
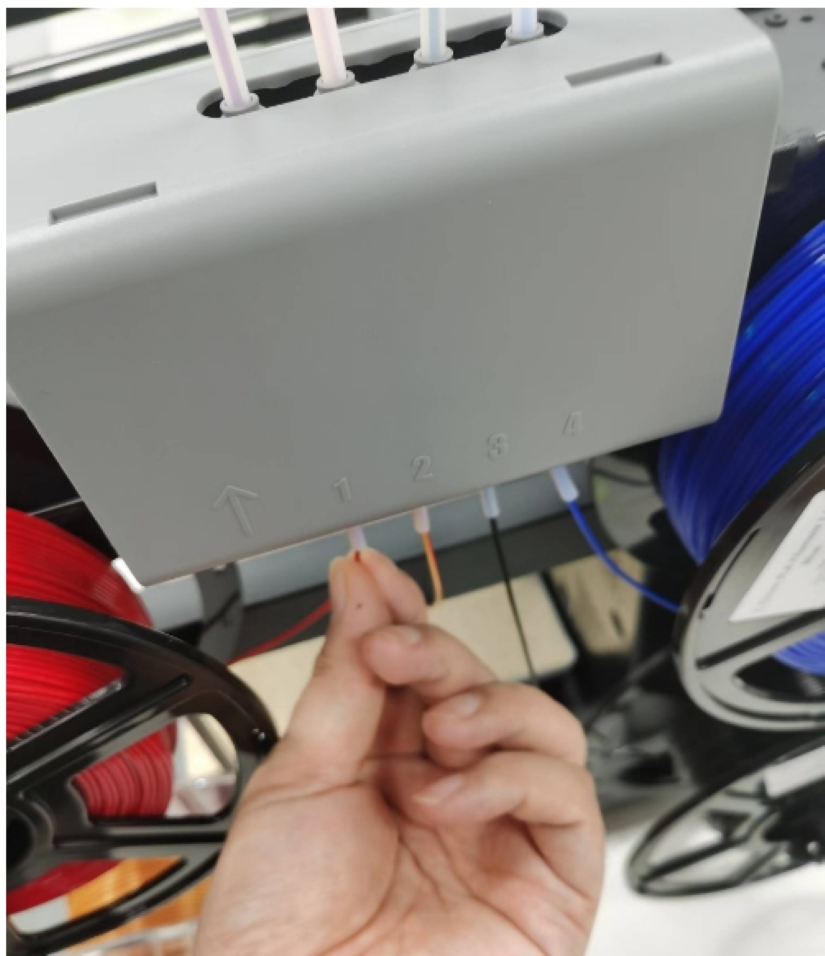
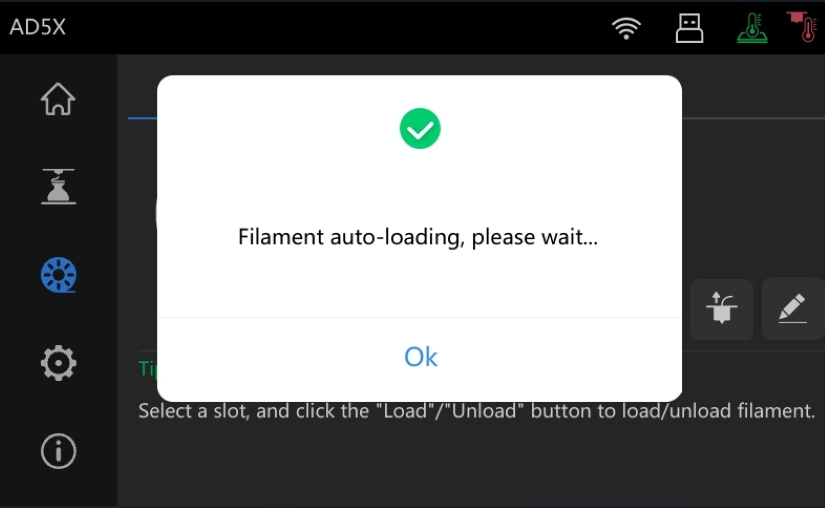
2. Insert each filament into the IFS module in order (or randomly). When the screen displays “Filament auto-loading, please wait…”, it will load the filament to the preset position of the 4-in-1 guide tube.
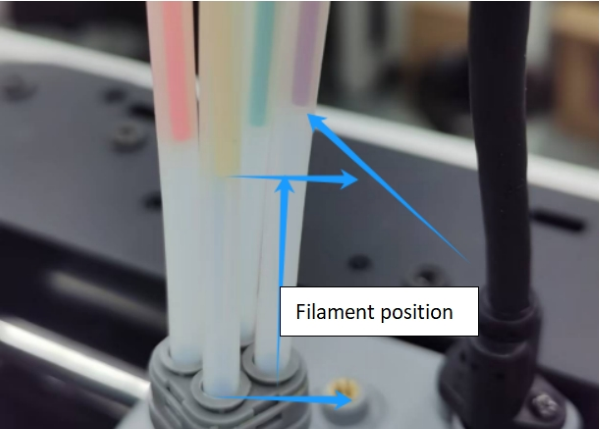
3. Repeat Step 2 for the other filaments and load them into the 4-in-1 guide tube. After loading, the final position of all filaments should be approximately 5 cm above the extruder, as shown below.
4. On the main interface, click [ ] to enter the filament interface.
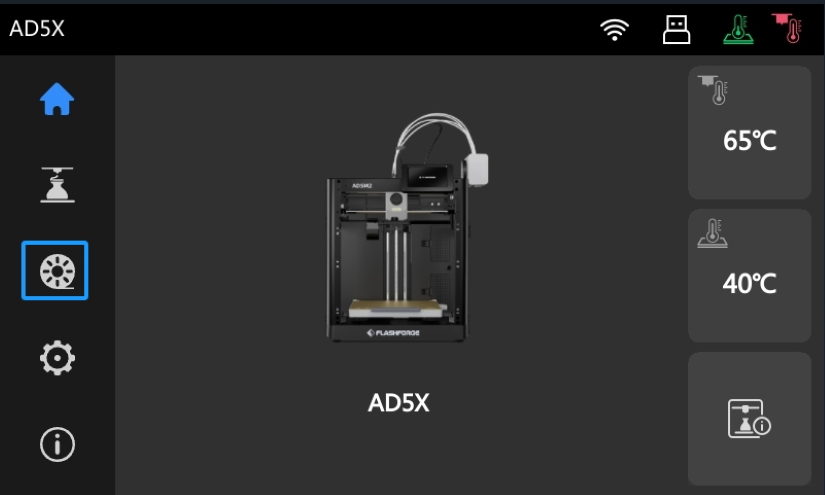
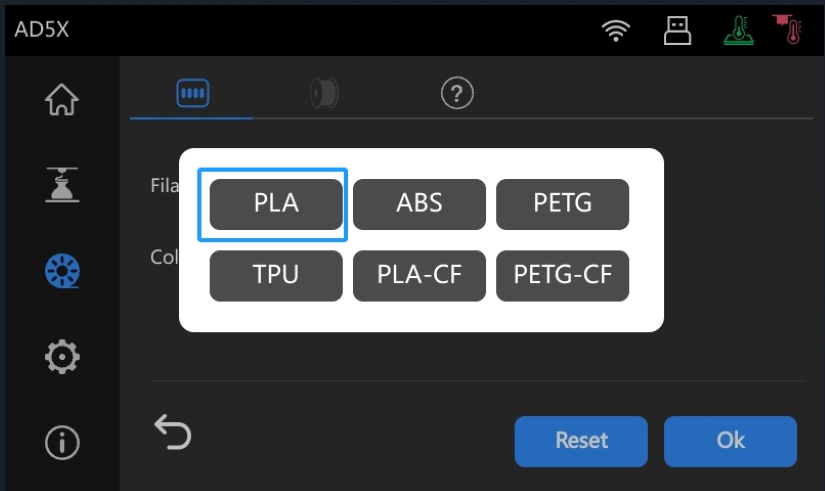
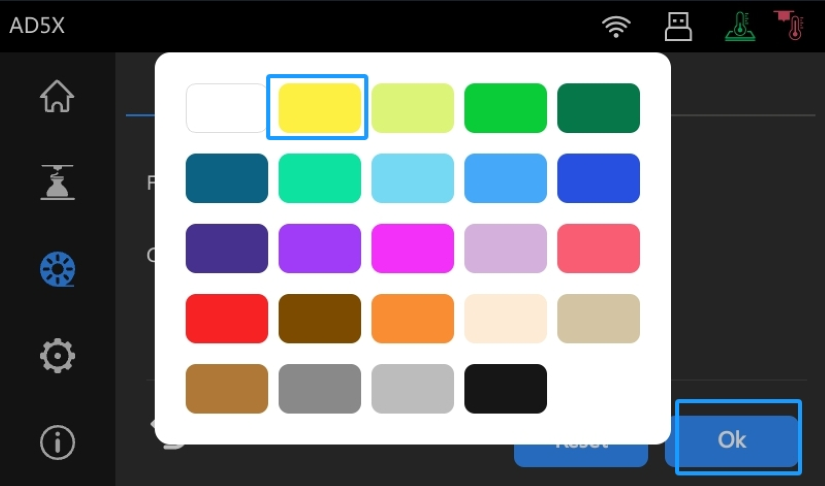
Note: Please confirm the material and color before load filament.
5. On the filament interface, select the channel to load filament (here, we select Channel 2), and then click [ ].
].
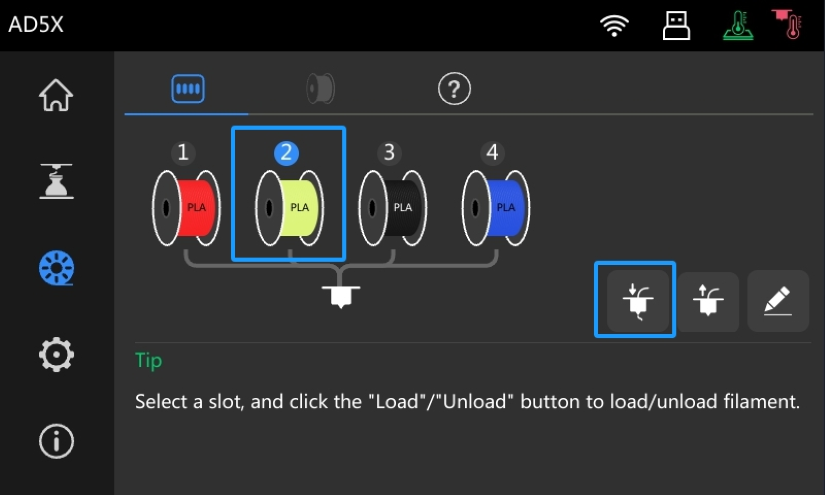
6. Then, the printer will start automatic filament loading, as shown below.
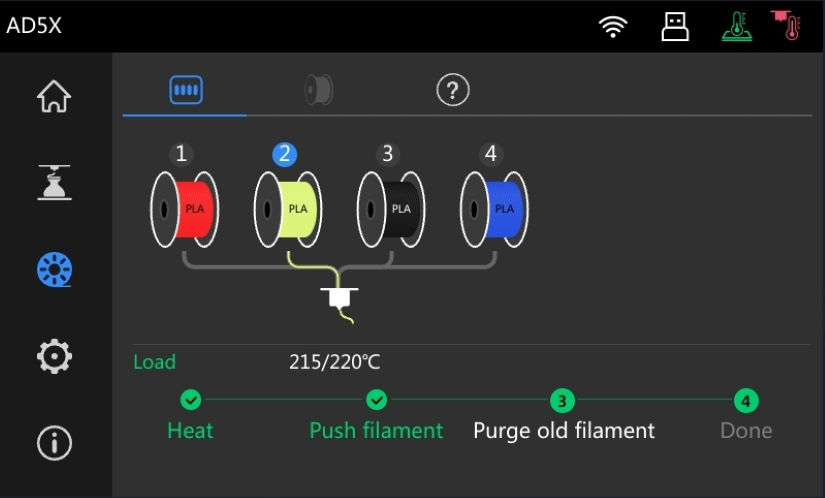
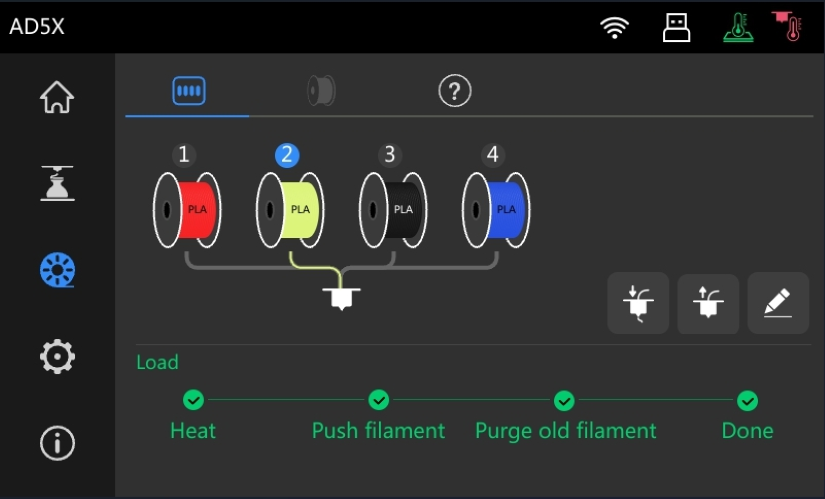
7. It will then heat the extruder, push the filament, and purge any remaining old filament. Once these steps are completed, the filament loading process is finished, as shown below.
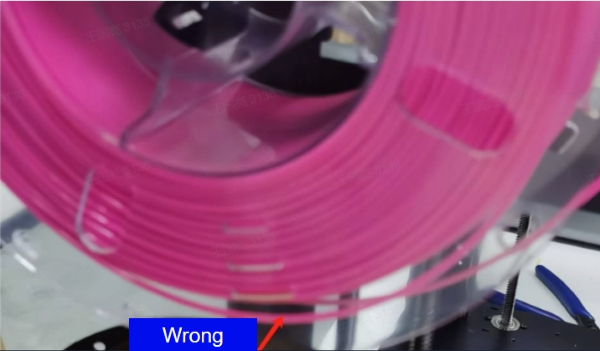
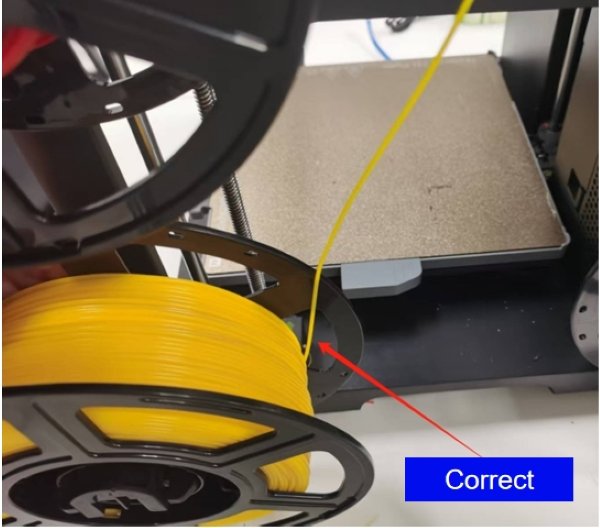
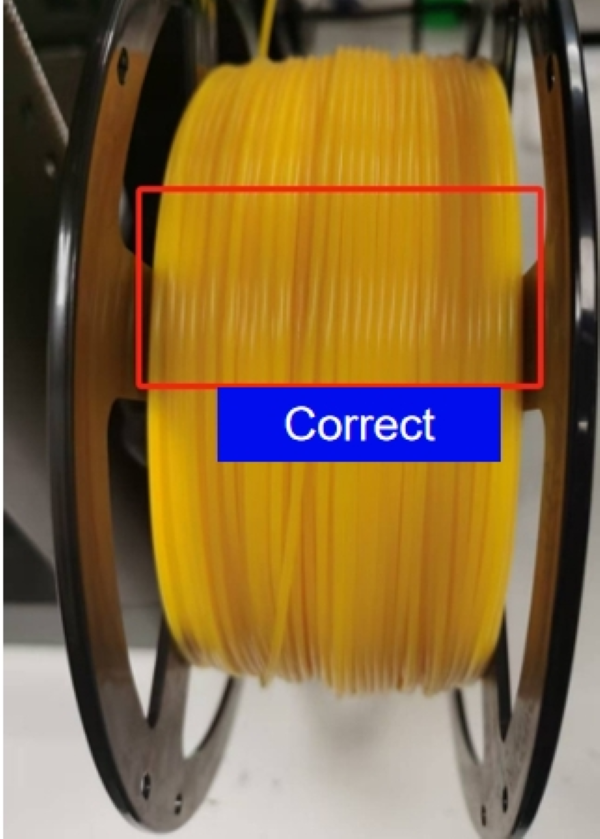
Notice:
Wrap the filament tightly on the spool after the filament is loaded, Otherwise, there is a risk of entangling the filament on the Spool holder. The correct and wrong pictures below are for your reference.

Updated on 21 Jan 2025

